
Email marketing is one of the best ways to stay in touch with your audience. It helps you share news, promote offers, and build trust with your customers. If you are new to email marketing, Brevo is a great tool to start with. It is simple, user-friendly, and packed with helpful features. In this guide, you will learn how to send your first email campaign using Brevo. We will take you through each step, from setting up your account to tracking your results. No technical skills needed—just follow the steps and you’ll be ready to send your first email.
What is Brevo?
Brevo is a tool that helps you send emails to many people at once. It is useful for businesses, bloggers, and online stores. With Brevo, you can send newsletters, special offers, or updates to your customers. It is easy to use and works well for beginners.
In this guide, you will learn how to send your first email campaign with Brevo. We will walk you through each step in simple language.
Step 1: Create Your Brevo Account
Before you send emails, you need to create an account on Brevo.
Go to the Brevo Website
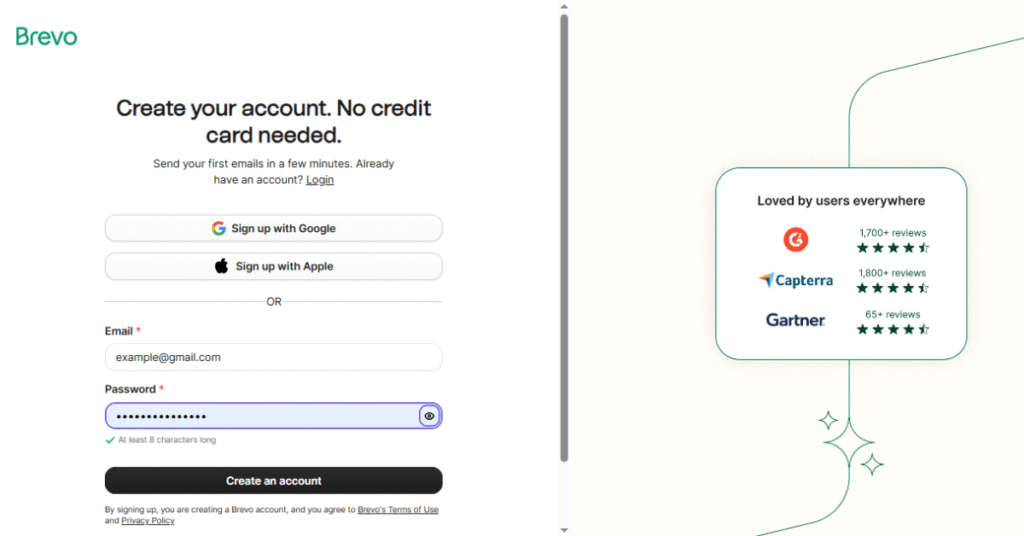
Open your internet browser and go to https://www.brevo.com
Click on the Sign up button. You will need to give your email address and choose a password. You may also need to confirm your email by clicking a link sent to your inbox.
Fill in Your Details
After signing up, you will be asked to provide your name, company name, and a few other details. Fill them out honestly. Brevo uses this information to help you get started with the right tools.
Step 2: Set Up Your Email List
You cannot send an email campaign without contacts. So, your next step is to create a contact list.
Add Contacts Manually
You can add contacts one by one. Go to the Contacts section, click Add a contact, and type in the name and email address of each person.
Import Contacts from a File
If you have a list of contacts saved in a file, you can upload it. Brevo supports CSV files. Just click Import Contacts, upload the file, and map the correct fields like name and email.
Create Lists
You can create different lists for different types of people. For example, one list for customers, another for blog readers. This helps you send the right message to the right group.
Step 3: Verify Your Email Domain
Before you can send emails, you should verify your domain. This shows that you are a real sender.
Why Verify Your Domain?
It helps your emails go to the inbox instead of spam. It also builds trust with email services like Gmail or Yahoo.
How to Verify
Go to Senders & IP from your account settings. Then choose Domains and click Add a new domain.
Enter your domain name, like “yourwebsite.com.” Brevo will give you some records (called DNS records) that you need to add to your domain hosting. You may need help from your website hosting provider for this step.
After you add the records, go back to Brevo and click Verify. It may take a few hours to complete.
Step 4: Create Your Email Campaign
Now you are ready to create your first email campaign.
Go to the Campaigns Section
Click on Campaigns from the menu and then click Create an email campaign.
Name Your Campaign
This name is for your use only. It helps you track your campaigns. For example, you can name it “July Newsletter” or “Summer Sale 2025.”
Choose a Subject Line
Your subject line is what people see first. Make it short, clear, and interesting. For example:
- Big Summer Discounts Just for You!
- Don’t Miss This Offer!
- Your Weekly Update Is Here
Add a From Name and Email
You can set the name people will see when they get the email. You can write your name or your business name.
Example:
- From name: Umair from ShopNow
- From email: umair@shopnow.com
Step 5: Design Your Email
Now it’s time to design your email. Brevo gives you three options:
Use Drag-and-Drop Editor
This is the easiest way to create an email. You can drag blocks for text, images, buttons, and more.
You can start from a blank template or choose one of Brevo’s ready-made templates. These look nice and work well on mobile phones.
Use Rich Text Editor
If you want a simple email with only text, choose the rich text editor. This looks like a basic email and loads quickly.
Use Your Own HTML
If you know coding, you can paste your own HTML code to design the email.
Step 6: Add Email Content
Write your email message in a friendly and clear tone. Keep your sentences short.
Here are some tips:
- Start with a greeting: “Hi [First Name],”
- Write your main message. Keep it simple and useful.
- Add a call to action. For example: “Shop Now,” “Read More,” or “Reply to this email.”
- Add your logo and website link.
- Include your contact details and an unsubscribe link. This is required by law.
Example content:
Hi Sarah,
We’re excited to tell you about our new summer sale. Enjoy up to 50% off on all items.
Hurry! The offer ends on July 31.
[Shop Now]
Thanks,
Umair from ShopNow
Step 7: Choose Your Recipients
Now choose who will get the email.
You can send it to:
- All contacts
- A specific list
- Contacts with certain tags or conditions
Choose the right group for your campaign. For example, send discounts only to buyers, or news only to blog readers.
Step 8: Schedule or Send Your Campaign
Once your email is ready, it’s time to send it.
Send Now
You can send the email right away. Brevo will deliver it within minutes.
Schedule for Later
You can also choose a date and time in the future. This is helpful if you want to send emails when your audience is most active.
For example, you can schedule your campaign to go out at 10 AM on a Monday.
Step 9: Track Your Results
After your email is sent, you can see how it performs.
Go to Reports
Click on the Reports section to view stats like:
- How many people opened your email
- How many clicked a link
- How many unsubscribed
Use this data to improve your next email campaign.
Tips to Improve Your Email Campaigns

Write Good Subject Lines
A subject line is the first thing people see. If it is boring, they won’t open the email. Make it short and catchy.
Use Clear Images
Add images that match your message. Make sure they are not too big or slow to load.
Keep Text Simple
Use simple words. Break your message into small parts. Use bullet points when needed.
Add a Call to Action
Always tell readers what to do next. For example: “Buy now,” “Learn more,” or “Get your discount.”
Test Before Sending
Send a test email to yourself first. Check how it looks on your phone and computer. Fix any spelling or layout issues.
Common Mistakes to Avoid
Using a Bad Subject Line
Don’t use all capital letters or too many exclamation marks. It looks like spam.
Not Adding an Unsubscribe Link
Always give users the option to unsubscribe. It’s required by email laws like GDPR.
Sending Without Testing
If your email has errors, it can hurt your brand. Always preview and test before you send.
Final Words
Brevo makes email marketing easy for everyone. Whether you run a small blog or a big store, you can use Brevo to connect with your audience.
In this guide, you learned how to:
- Create an account
- Add contacts
- Design your email
- Send your campaign
- Check results
Now it’s your turn to take action. Log in to Brevo and send your first email campaign today. Keep your message clear, your design simple, and your tone friendly.
You will get better with each campaign. Keep testing and improving.
If you need help, Brevo also offers support and tutorials on their website. Good luck!